No Products in the Cart
CONTACT OUR FRIENDLY STAFF FOR ENQUIRIES VIA PHONE 1300 265 812 OR LIVE CHAT

Have you ever considered undertaking a DIY project that not only upgrades your bathroom but also contributes to saving water? Well, learning how to change a shower head is a straightforward task that fits this description. With a few simple steps, you can install a new shower head and transform your shower experience.
Upgrading your shower head can provide you with a great shower experience. Shower heads can deteriorate over time, leading to reduced water pressure or annoying leaks. Replacing an old shower head with a new, efficient model can significantly increase your shower's water flow, providing a more enjoyable and invigorating experience. Plus, new shower heads often come with water-saving features, making your bathroom a bit greener.
Before you start, ensure you have the following tools and materials:
New Shower Head
Replacement Shower Head (If available)
Adjustable Wrench
Teflon Tape (also known as Plumber's Tape)
Soft Cloth
Wire Brush
Damp Paper Towel
Please ensure safety by keeping the shower area dry to avoid any accidental slips or falls.
Start by switching off the water supply. The next step is to unscrew the existing shower head. Use the adjustable wrench and soft cloth for this process. Place the cloth over the connecting nut to protect it from getting scratched, then use the wrench to turn the shower head counterclockwise until it's loose.
Once you've removed the old shower head, you'll need to clean the connecting pipe (also known as the shower arm). Remove any excess dirt or Teflon tape left from the previous layer using a soft cloth or wire brush. This will help ensure a clean, smooth surface for the new shower head.
Now, take your Teflon tape and apply it in a clockwise direction around the shower arm's threads. This step is crucial in providing a seal that prevents leaks between the new shower head and the shower arm. Use sufficient tape to ensure a snug fit but avoid over-wrapping.
Carefully screw your new shower head onto the shower arm. You can do this by hand initially and then tighten with the adjustable wrench for the final turns. Be sure to place the soft cloth over the connecting nut when using the wrench to prevent scratches or damage.
Turn on the water supply and monitor the new shower head. Watch for any leaks at the connection point. If everything appears to be in order, then congratulations! You have successfully completed the process of how to change a shower head.
When undertaking this DIY project, keep in mind the universal thread size for shower heads. Most shower heads and shower arms use a 1/2 inch thread size, making it relatively easy to find a compatible replacement shower head. However, always confirm the thread size before purchasing a new shower head.
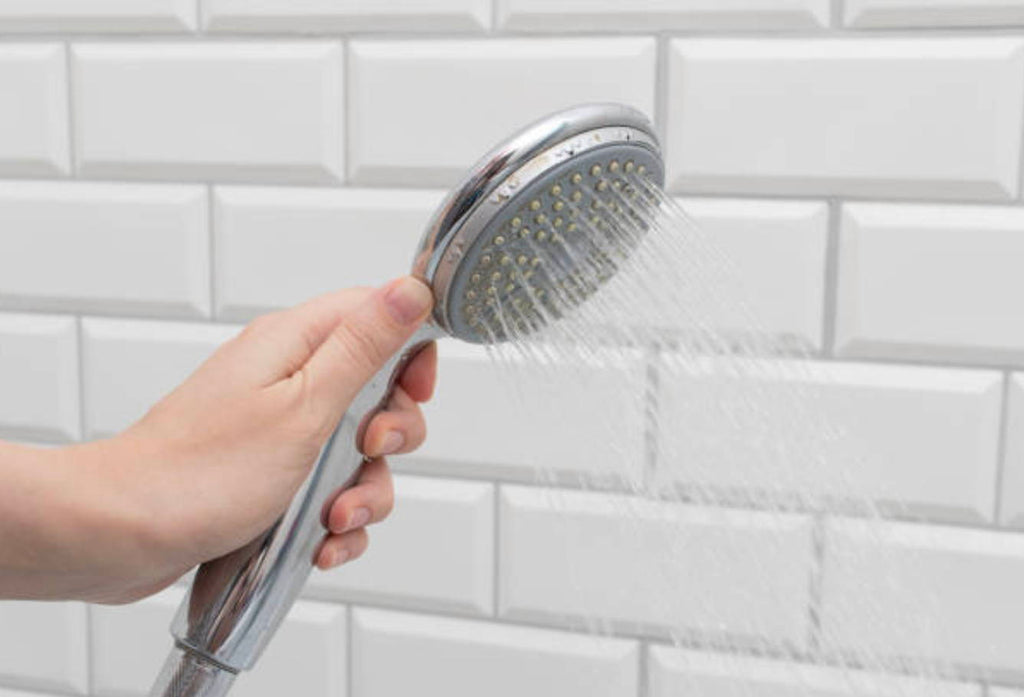
When you're shopping for new shower heads, consider a handheld shower head or a model with different spray settings. These types can make a big difference to your shower experience, allowing for customization according to personal preferences.
Also, remember that even though this is a relatively small upgrade, it can significantly enhance your bathroom aesthetics. It's amazing how new fixtures like a shiny, new shower head can refresh the overall