Shoppable
No Products in the Cart

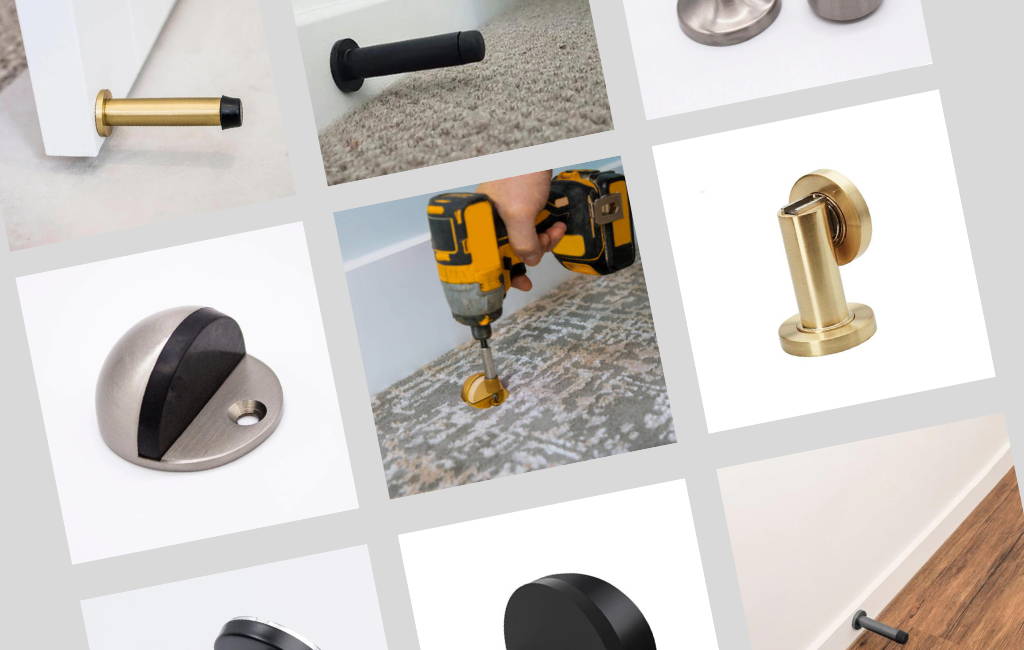
If you've been pondering over how to install a door stopper, then you've arrived at the right destination. This DIY project can seem daunting but is actually quite simple when broken down into manageable steps. Let's get started with our comprehensive guide on door-stop installation, ensuring that your doors and walls remain in top shape.
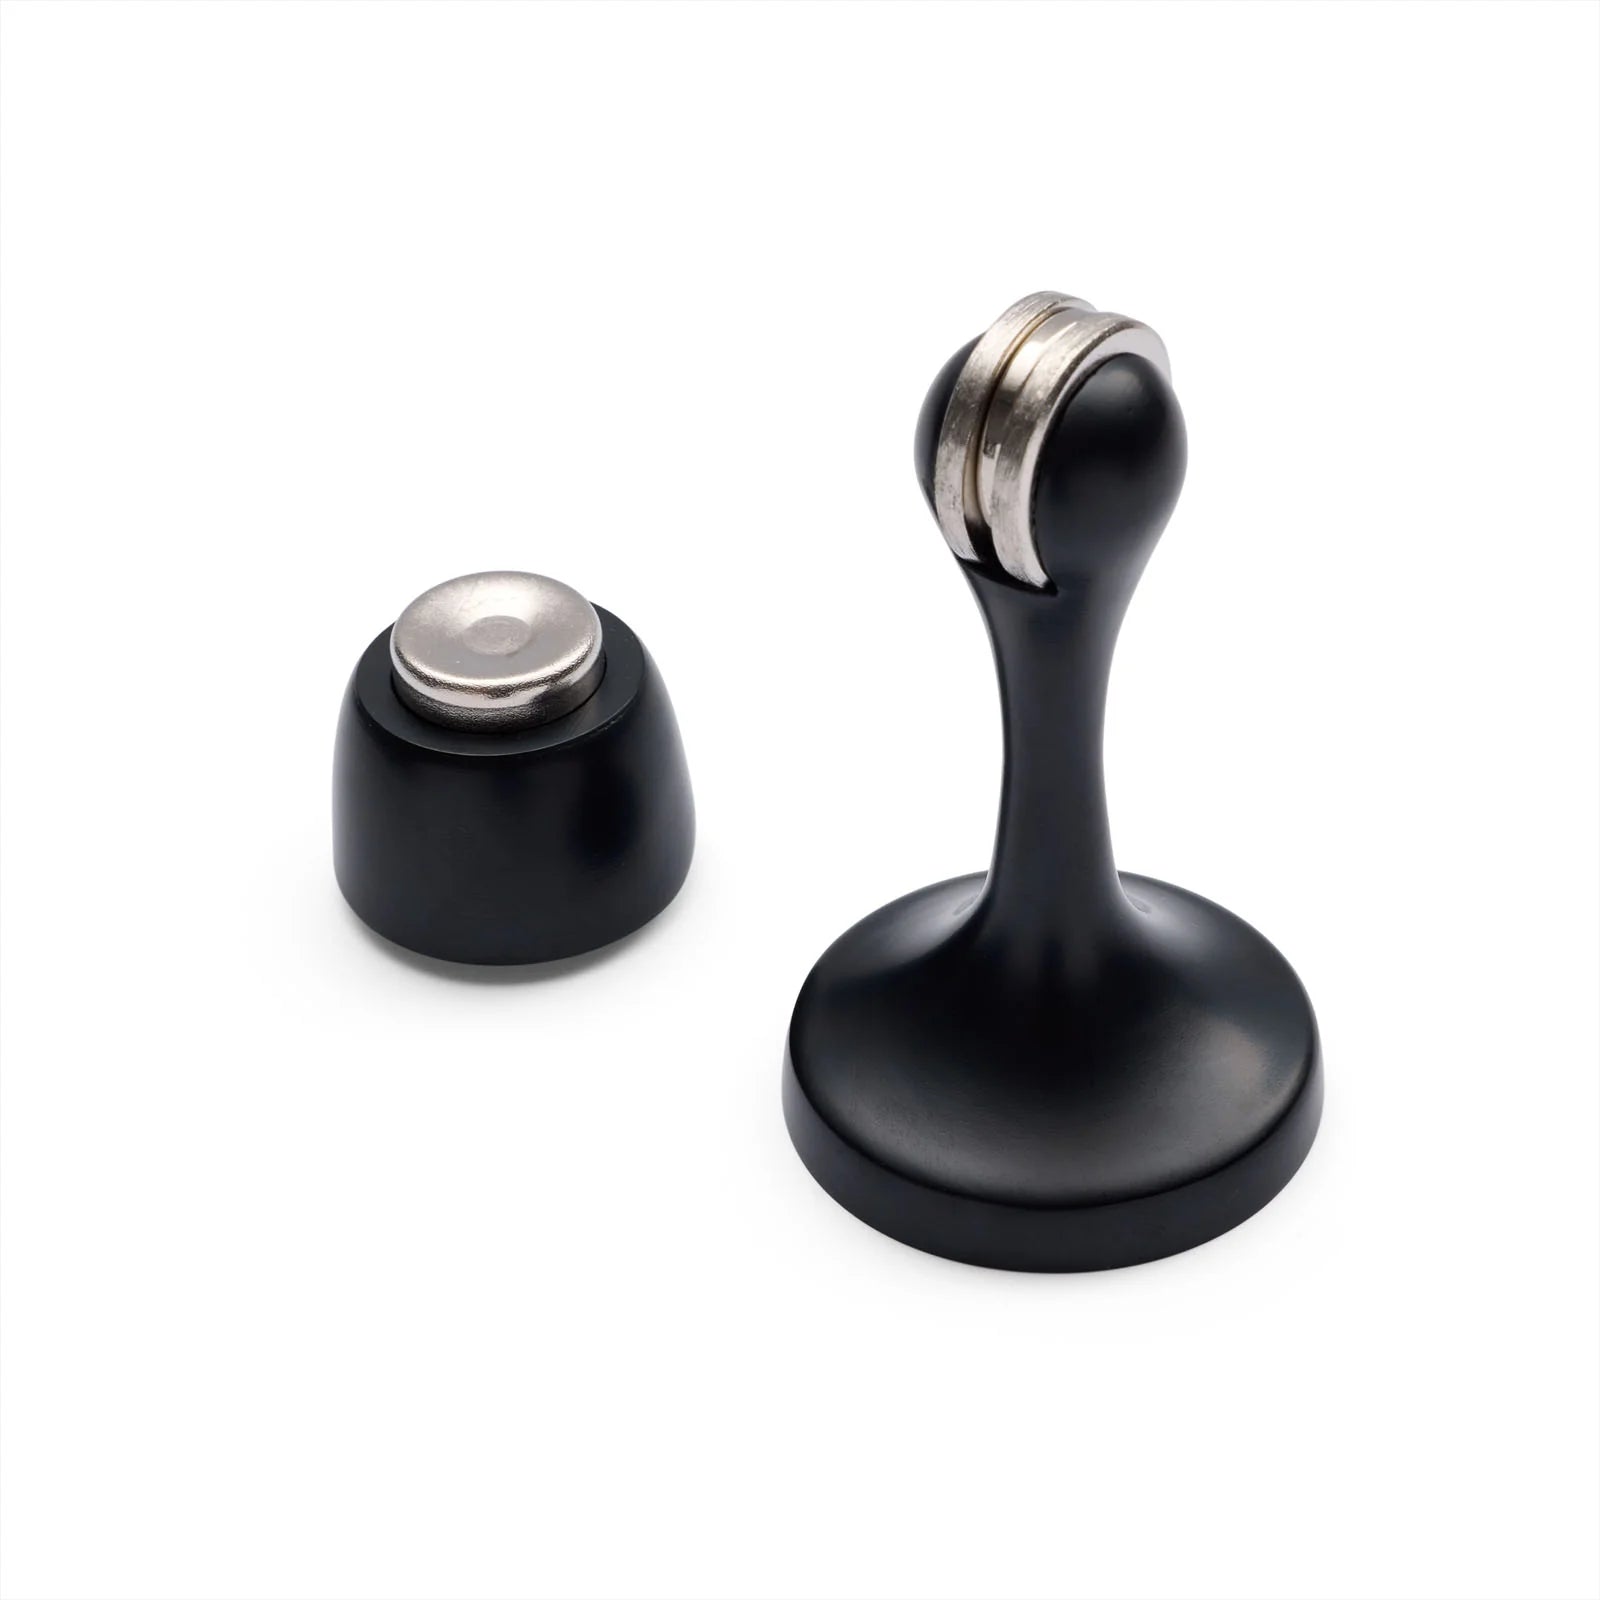
Door stoppers are more than just door accessories. These functional gadgets prevent doors from causing scuffs or dents on the adjoining wall. It's a practical solution to maintain the integrity of your walls and furniture, especially when dealing with heavy doors.
For this DIY project, you will need a door handle kit, a drill with appropriate drill bits, a hammer, a tape measure, a door wedge, and the door handle or door knobs you intend to install. Other components like a strike plate, latch bolt, and screws will typically come with your door handle kit.
Before we get into the details of how to install door stops, make sure you have the following tools handy:
Drill and drill bit that aligns with your door stopper's screw size
Pencil for marking the exact installation spots
Tape measure to ensure precise placement
Your selected door stopper and its associated hardware
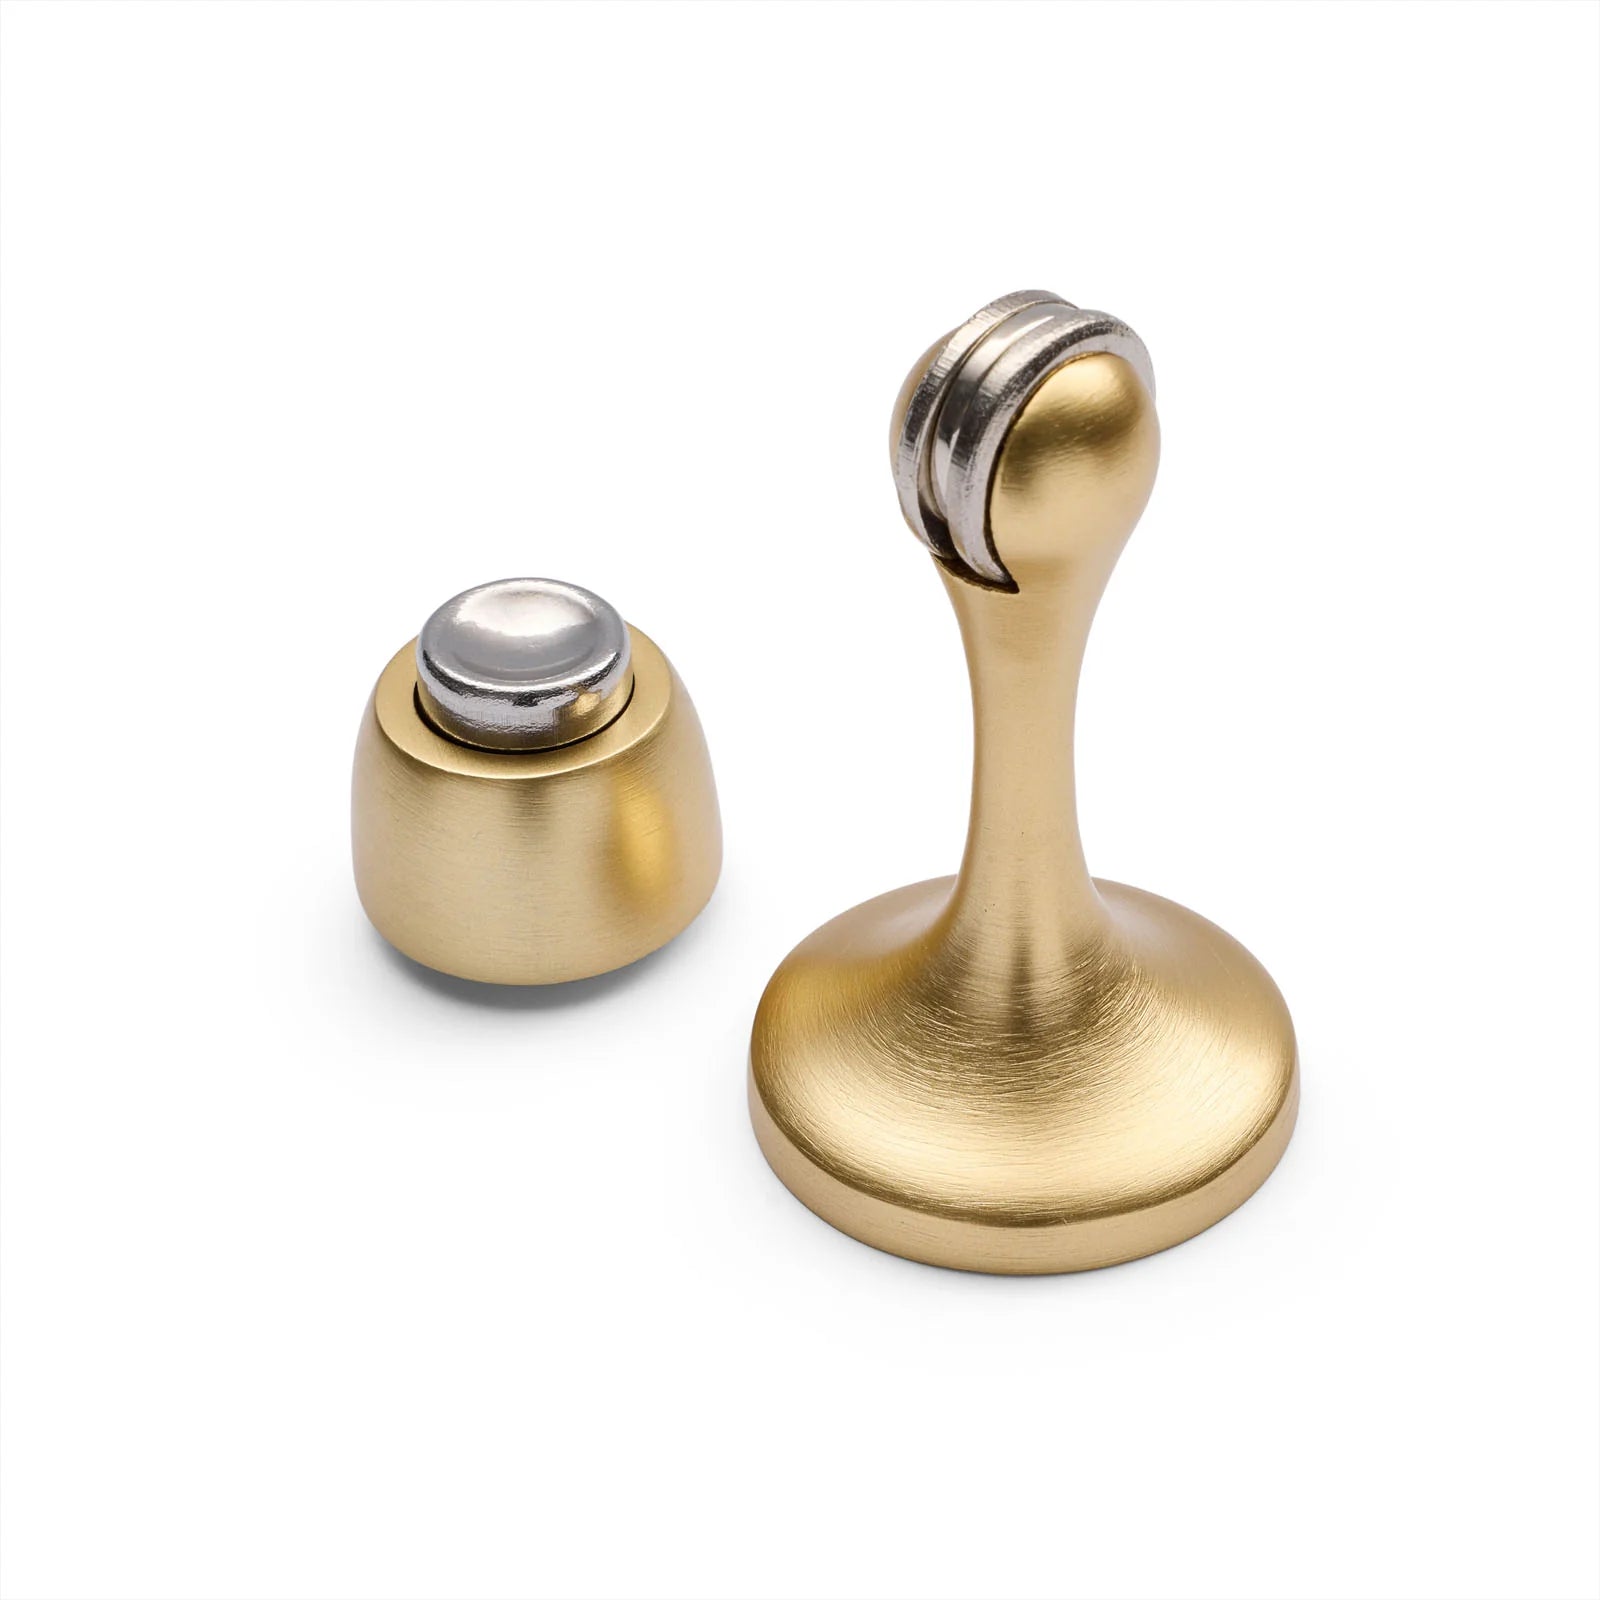
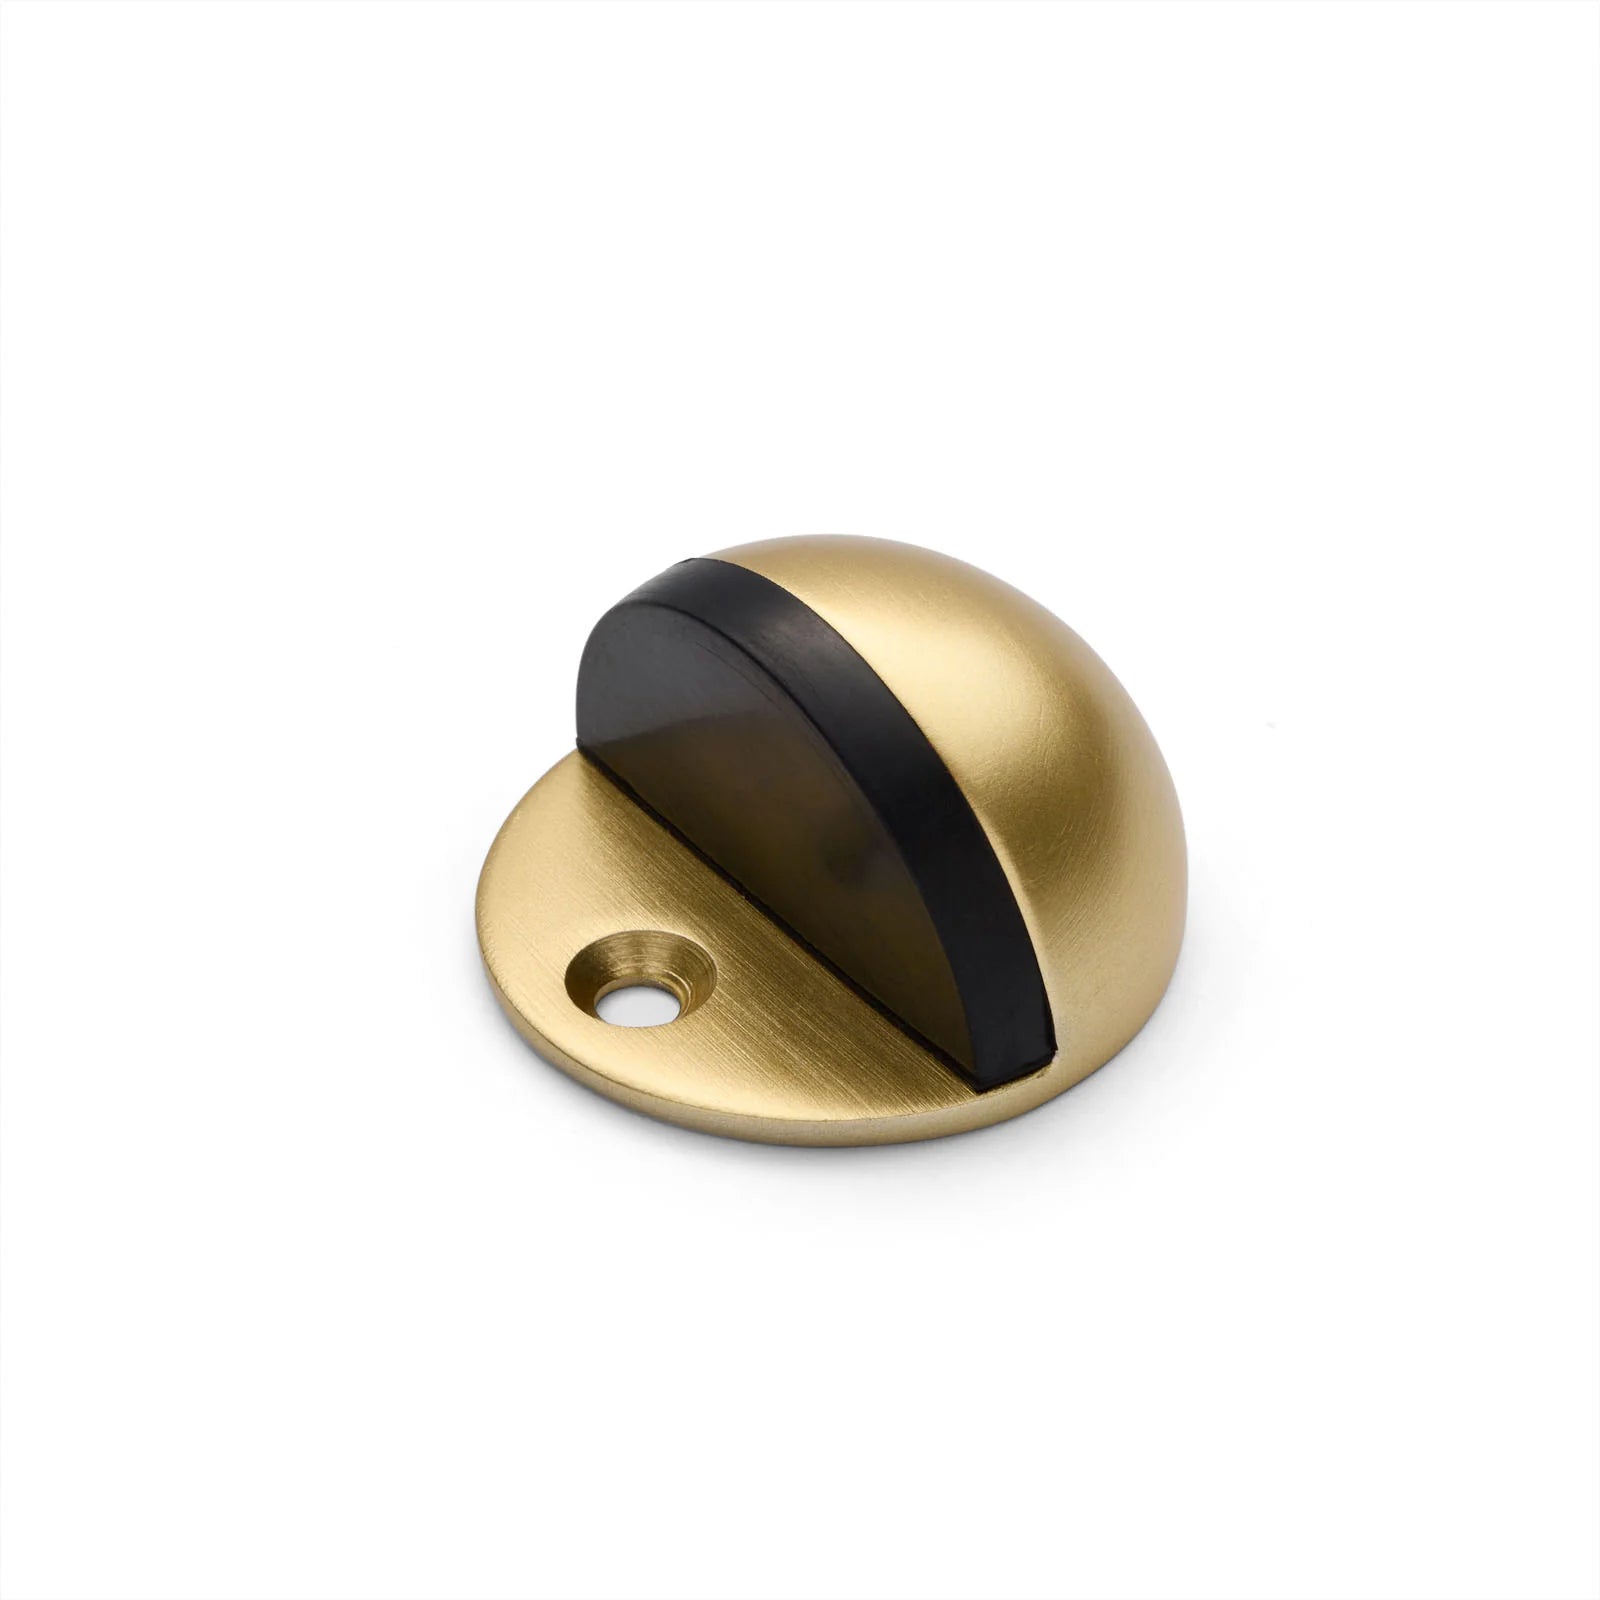
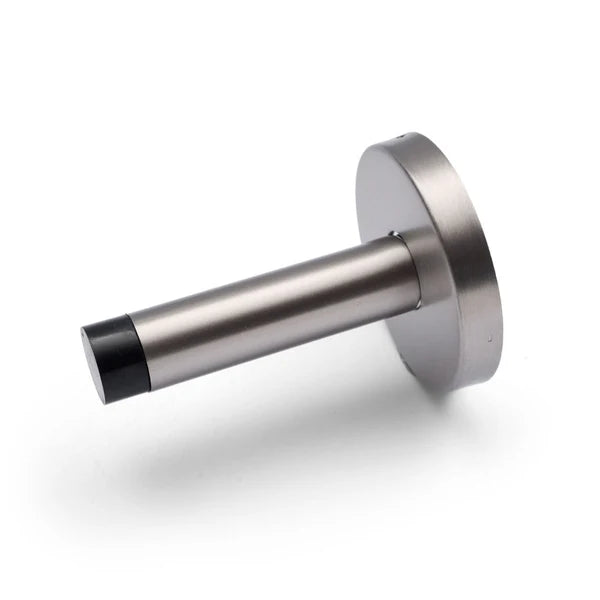
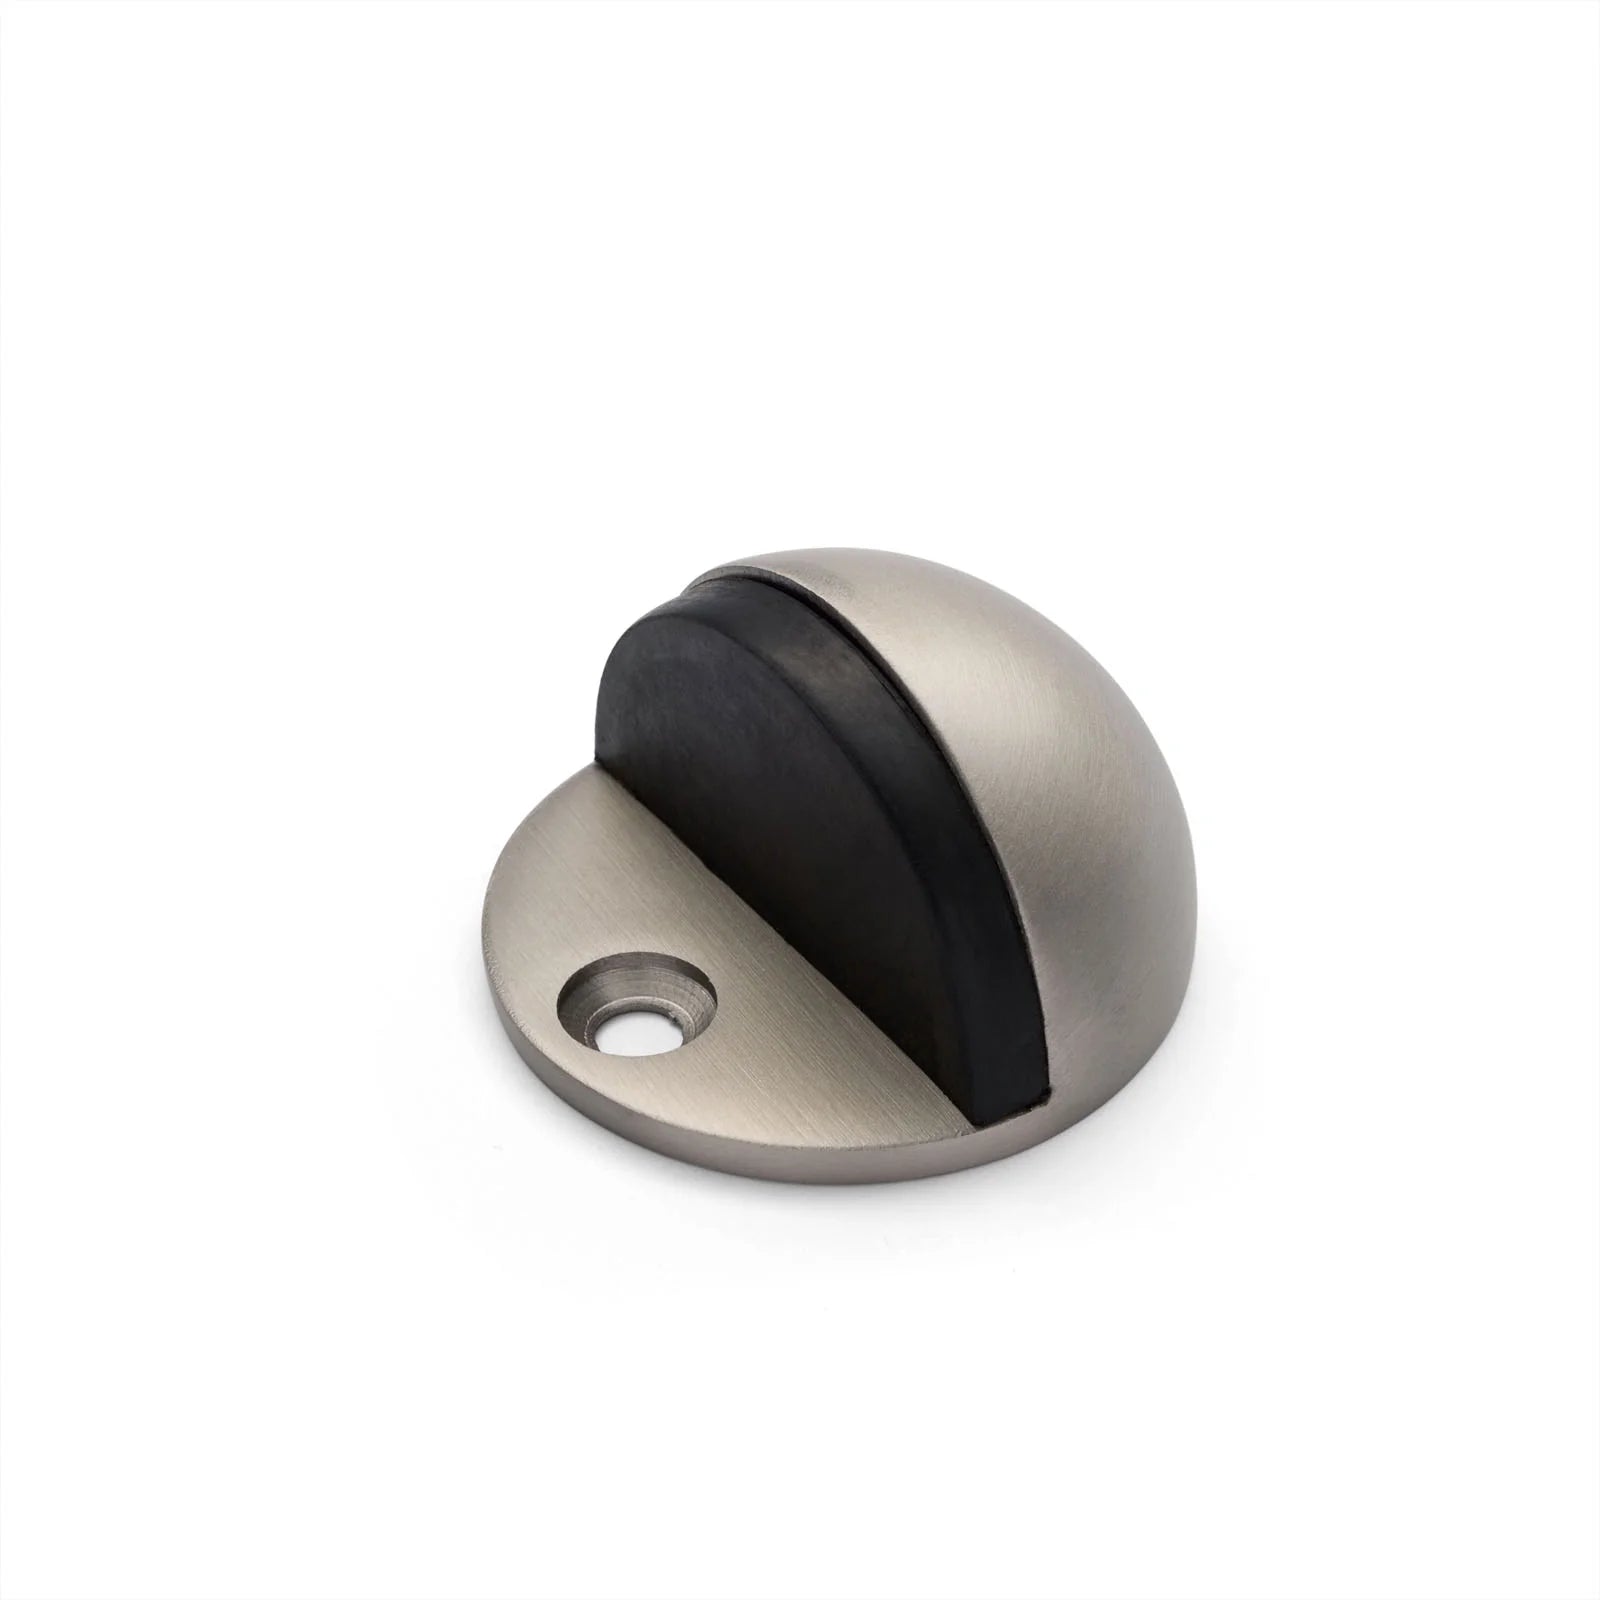
The appropriate spot for your door stopper relies heavily on the door stop type and the specific dynamics of your door and wall. A hinge-mounted doorstop usually works best when placed a few inches from the door's edge. On the other hand, floor door stops are generally positioned around 1.5 inches away from the edge of the door at its maximum swing.
Use the pencil to mark the point where you want to install the door stopper. Subsequently, take your drill and make a pilot hole at the pencil mark. Ensure the hole is deep enough for the door stopper's screw, but not so much that it penetrates to the other side of the wall or floor.
Now, insert the screw through the door stopper into the pilot hole. Secure it using your drill. If you're installing a hinge-mounted doorstop or a fixed post doorstop, the steps are quite similar. You'll either attach the doorstop to the hinge or the baseboard.
As you learn to install door stoppers, remember these important points:
Always double-check your measurements to avoid drilling unnecessary holes.
Choose the right type of door stopper for your specific door and wall circumstances.
Make sure the door stopper is firm, but avoid overtightening, as it may cause damage.
Mastering the art of door-stop installation can be a useful skill, saving your walls and furniture from potential door-related damage. Although it may seem complex initially, the process is quite straightforward once you comprehend the steps.
In conclusion, door stoppers provide a simple and cost-effective solution to prevent door-induced damage. With this guide in your DIY arsenal, you can comfortably install door stops in your home or office, assuring the safety and longevity of your property. Here's to a successful door-stopper installation!

Anthony is one of our bathroom bloggers here at Wellsons. You'll find him regularly blogging about fun bathroom trends as well as writing DIY guides.