Shoppable


No Products in the Cart

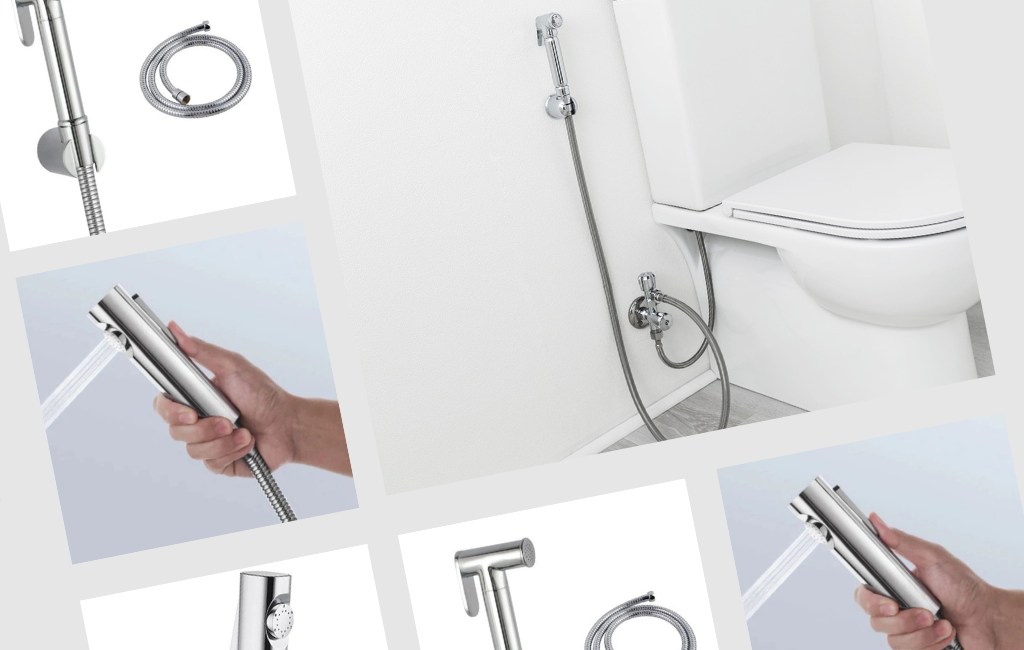
To start, let's select the right handheld bidet sprayer for you. Before you begin, make sure you have all the necessary parts. These include:
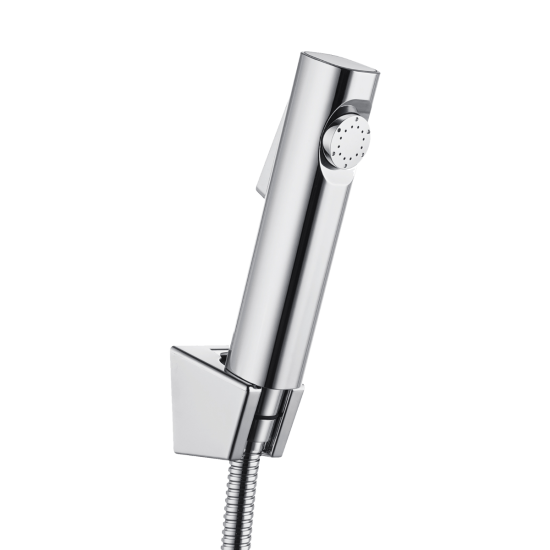
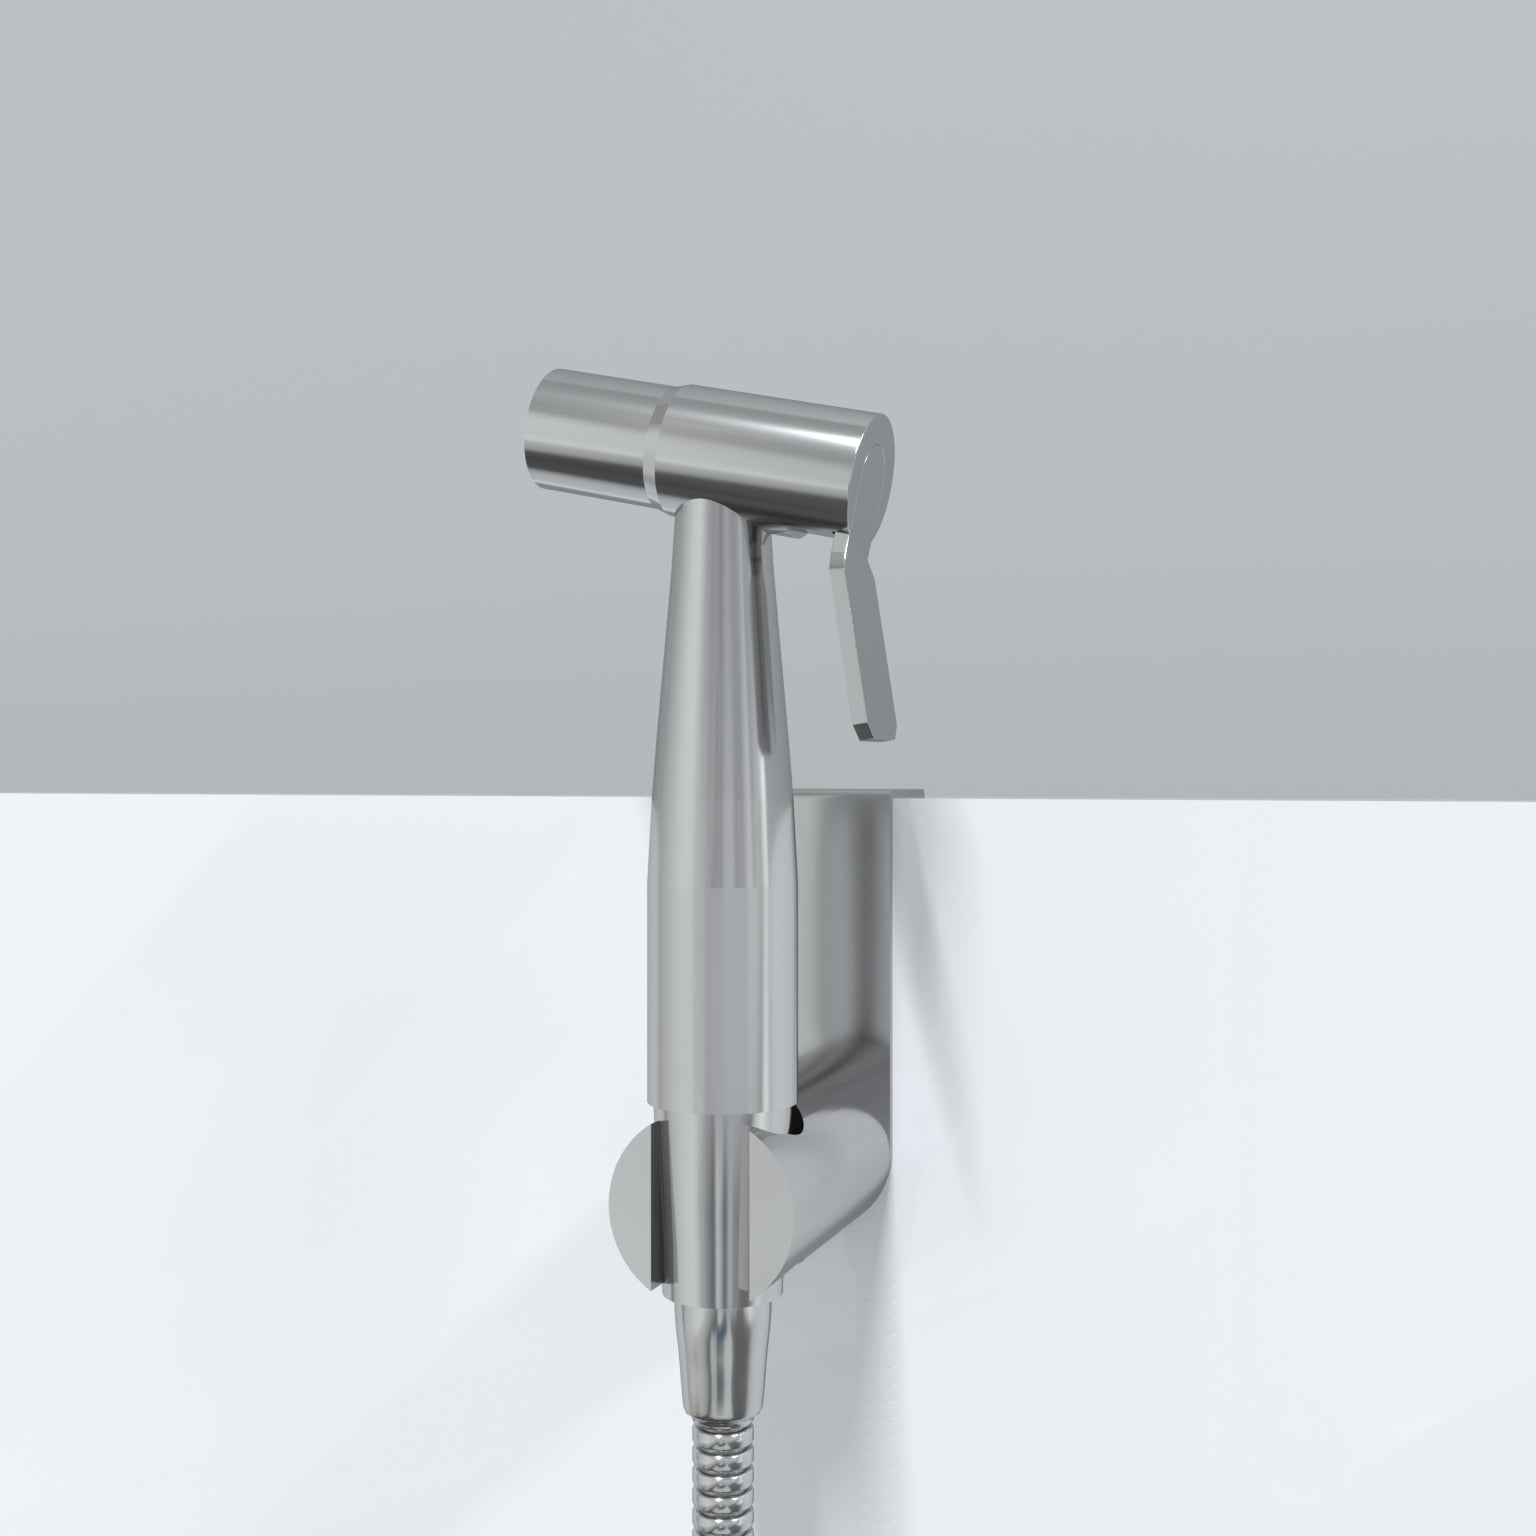
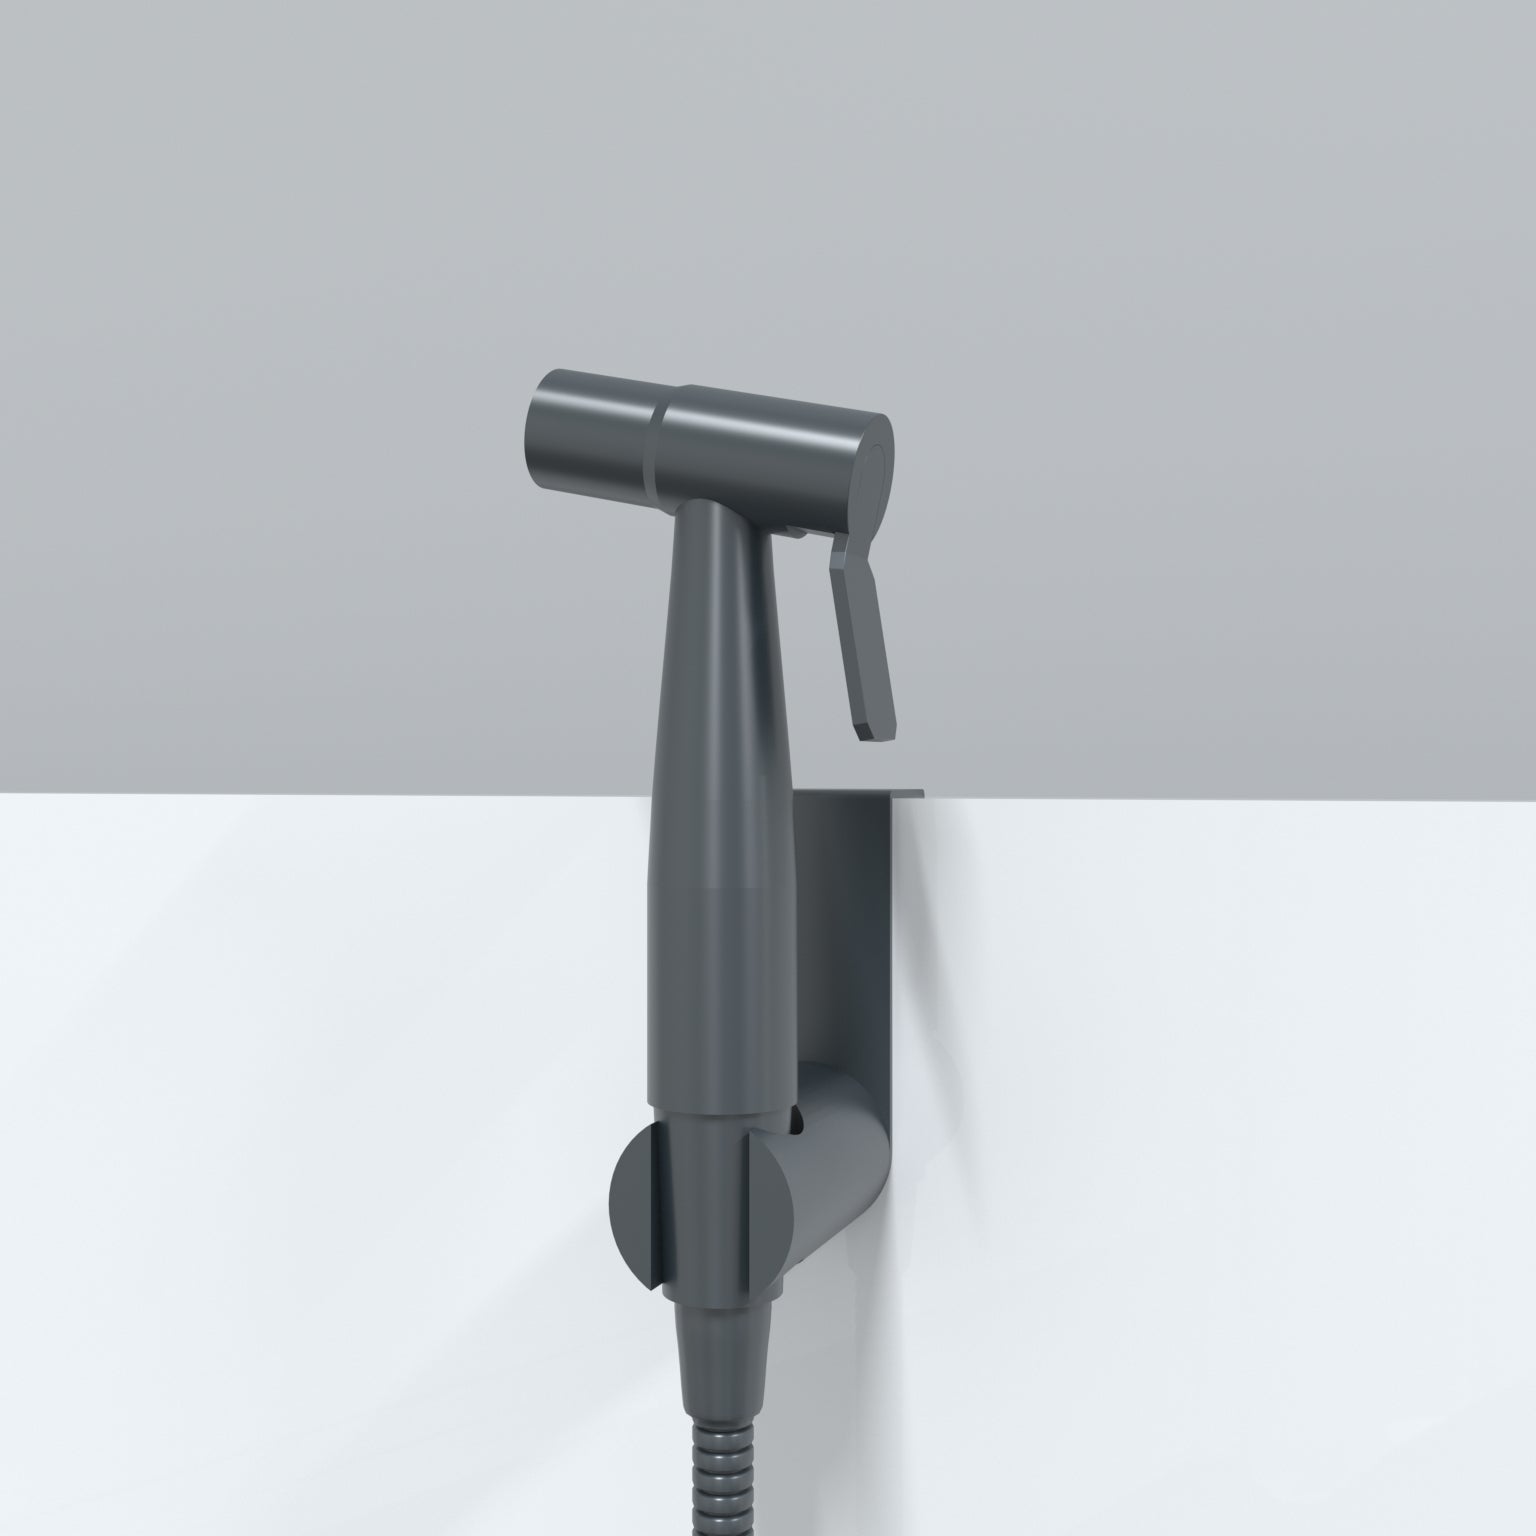
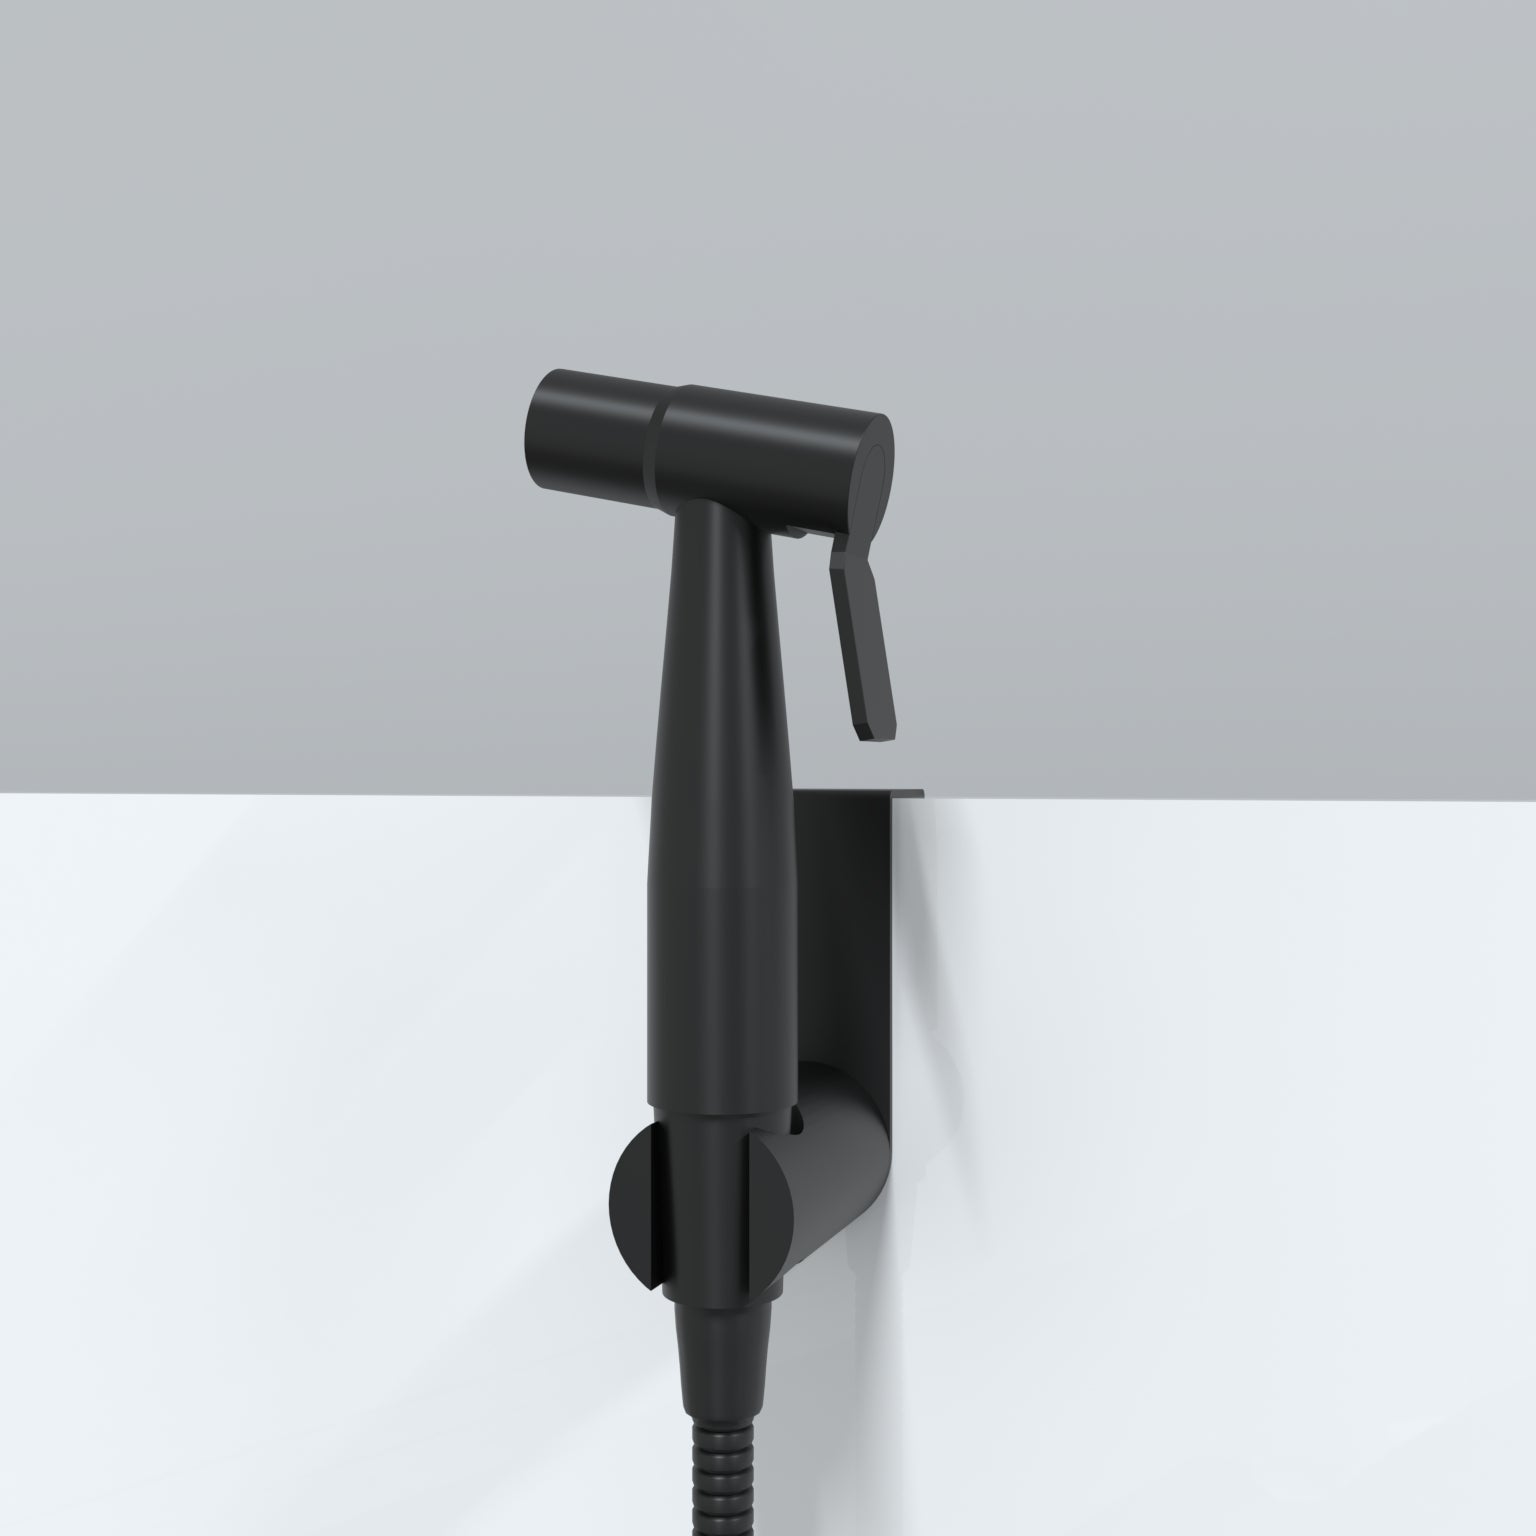
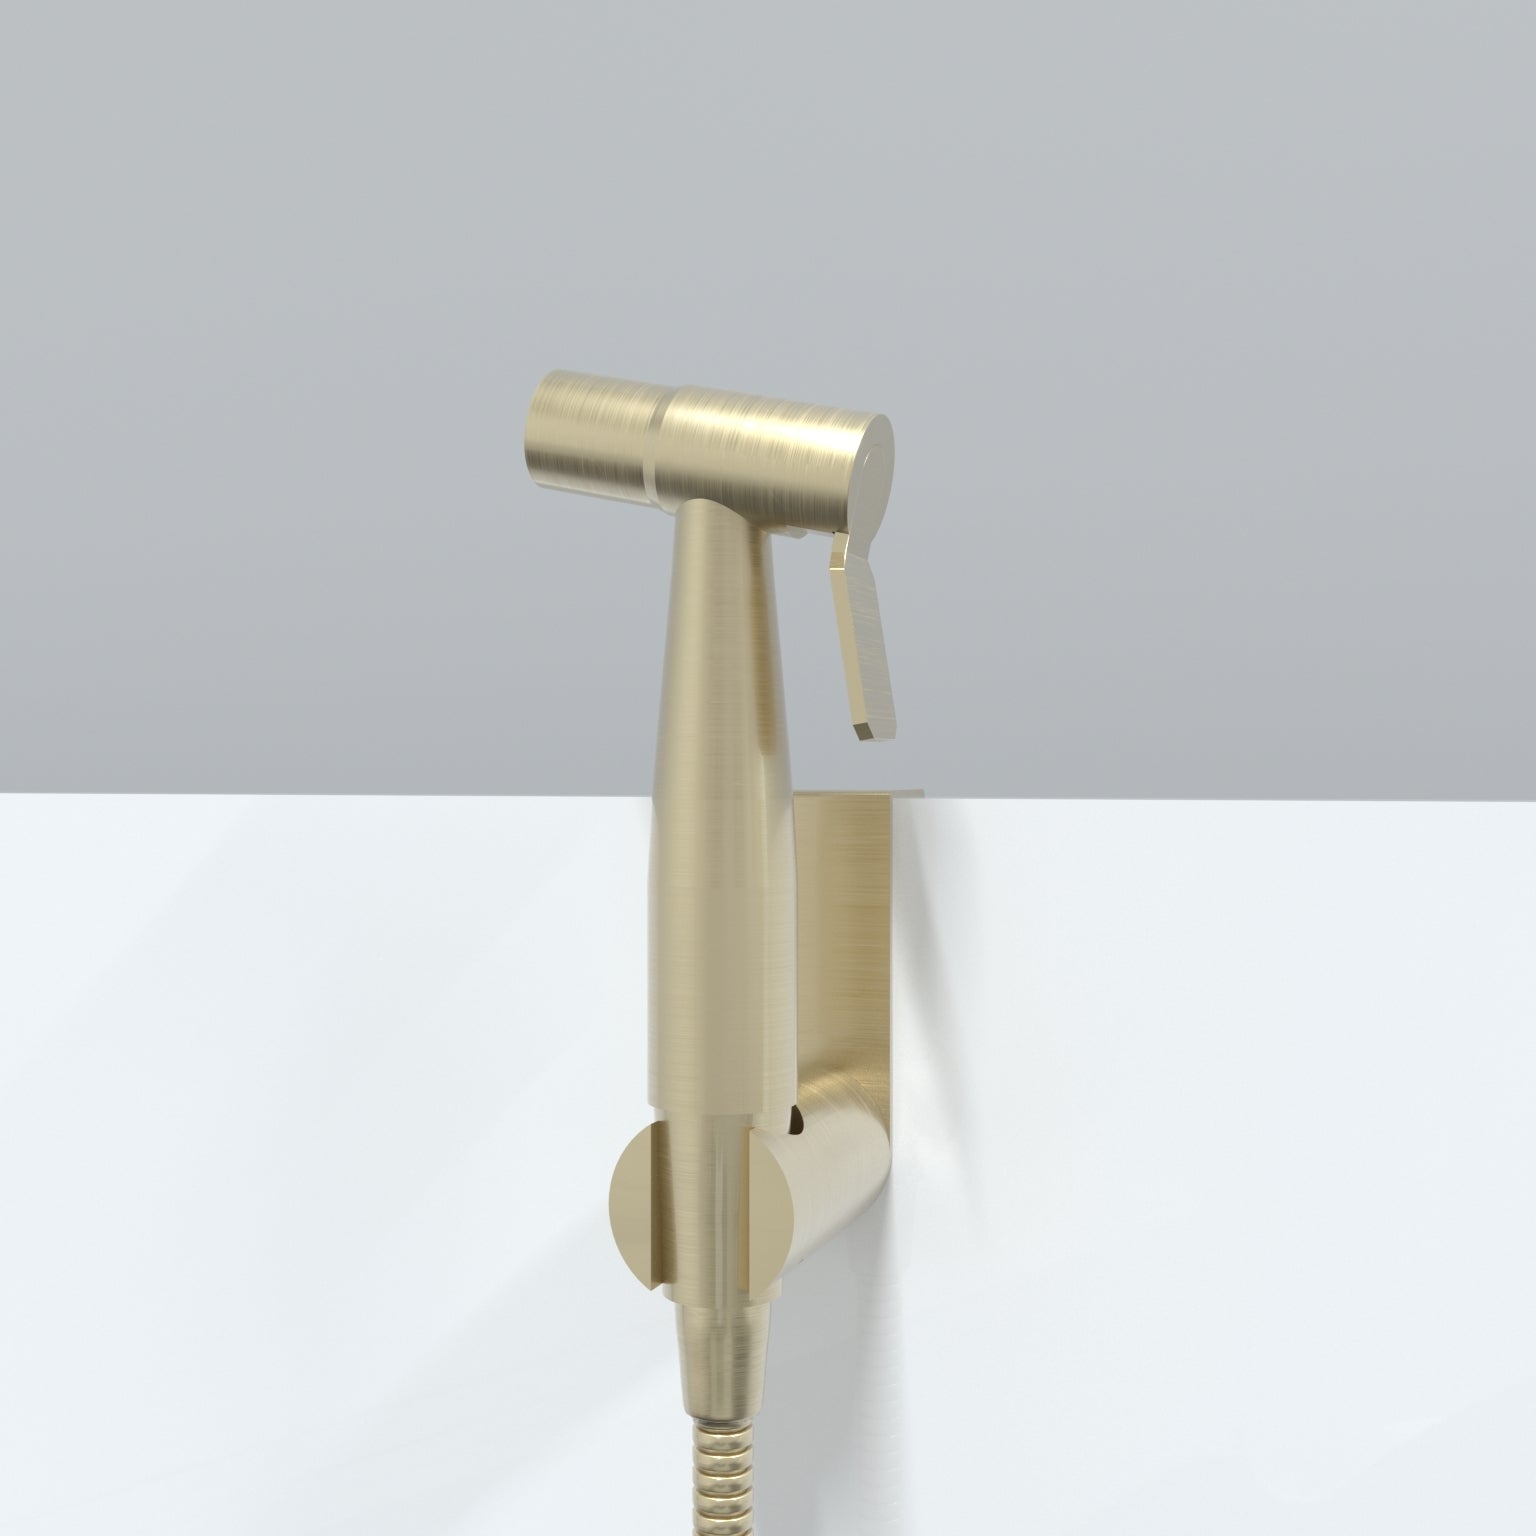
1. A bidet sprayer. This is the part which sprays water, mirroring the same functionality as a garden hose nozzle. Choose a model that aligns with your toilet's configuration, ensuring nozzle positioning is practical and accommodates for usability.
Next, consider variable water pressure which you can adjust to light, medium or high pressure for your comfort as per your personal preference.
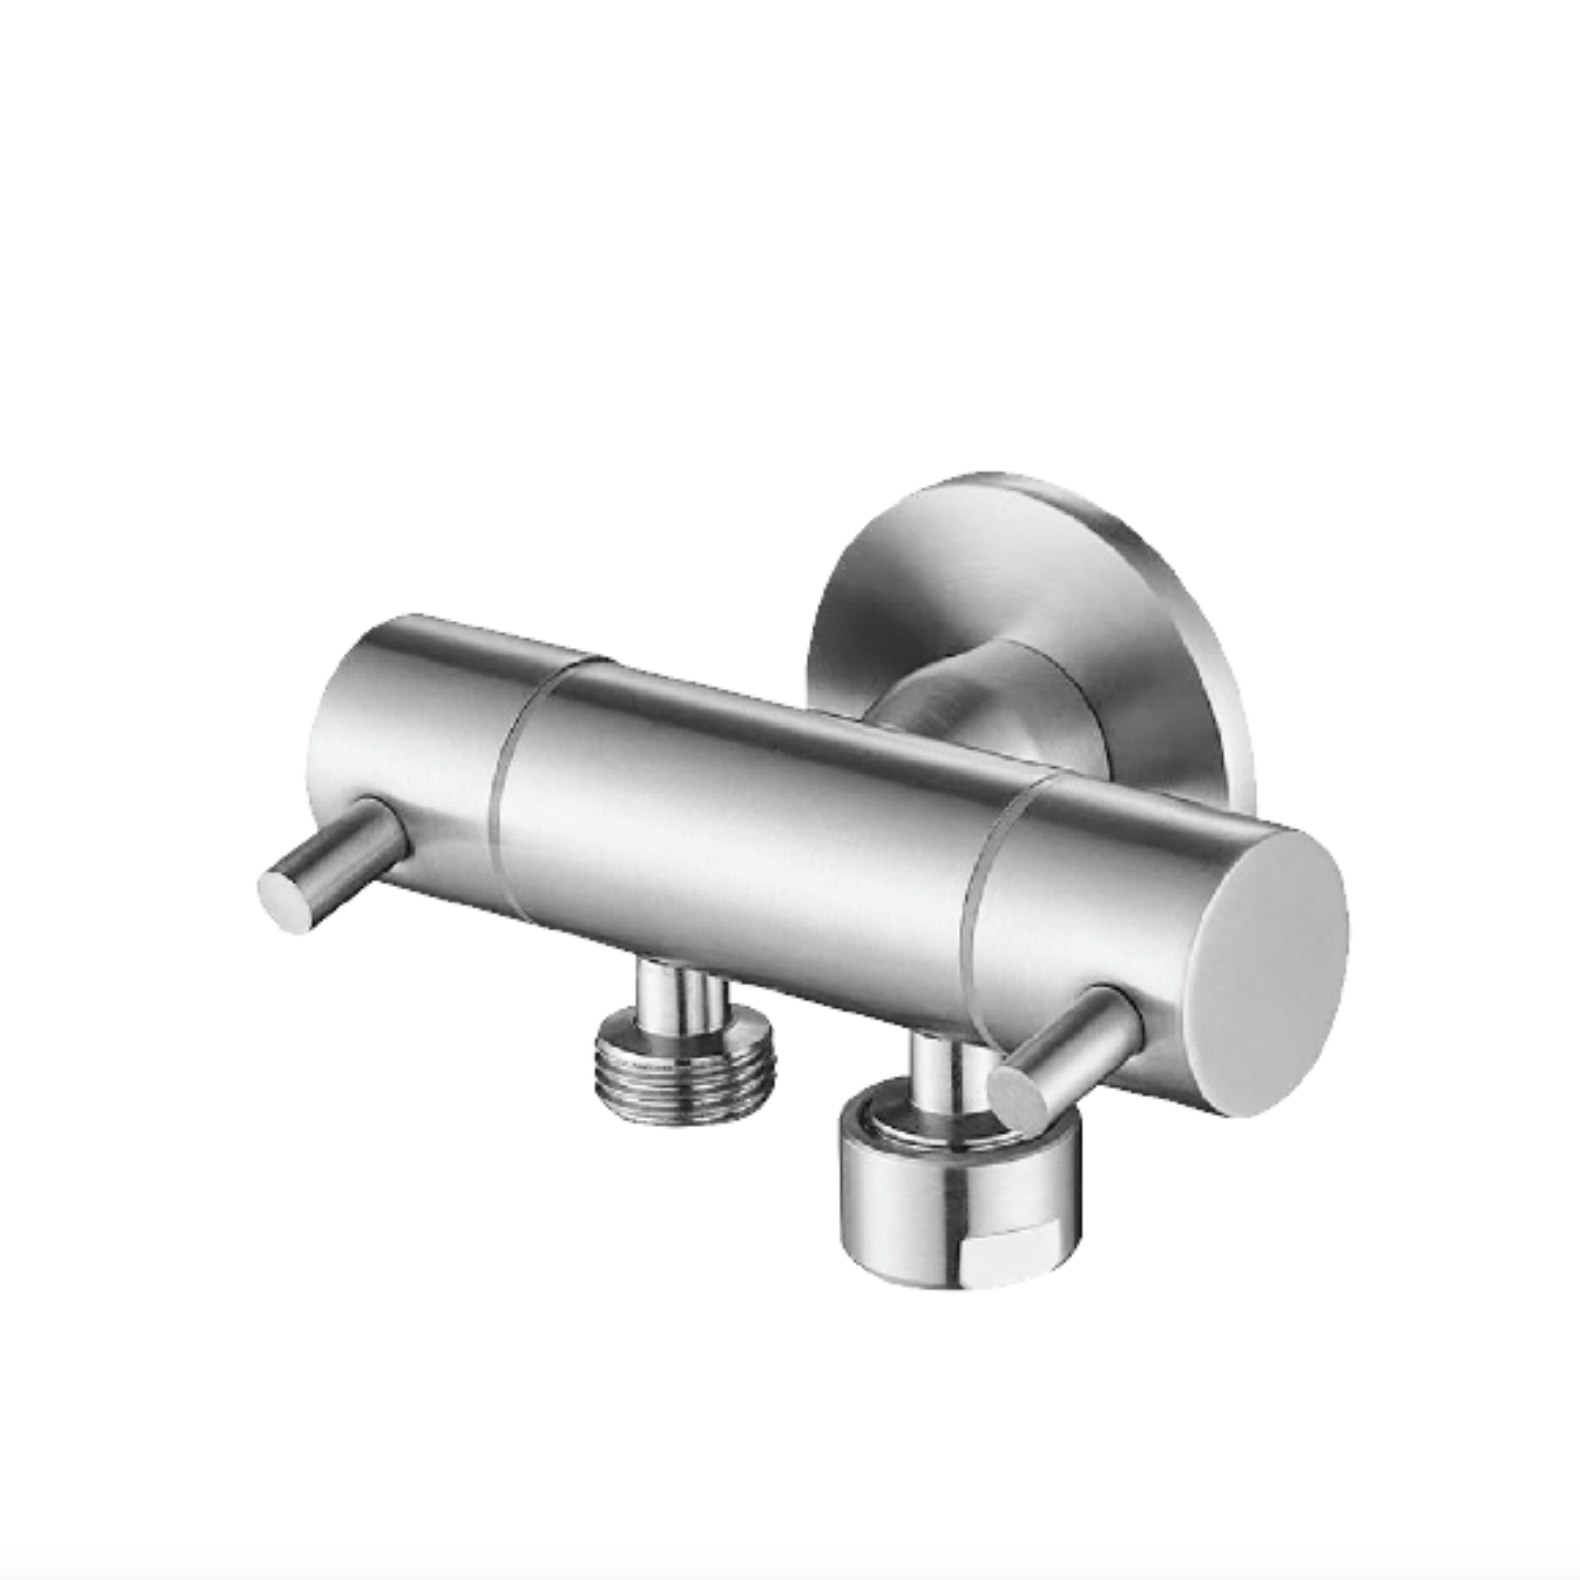
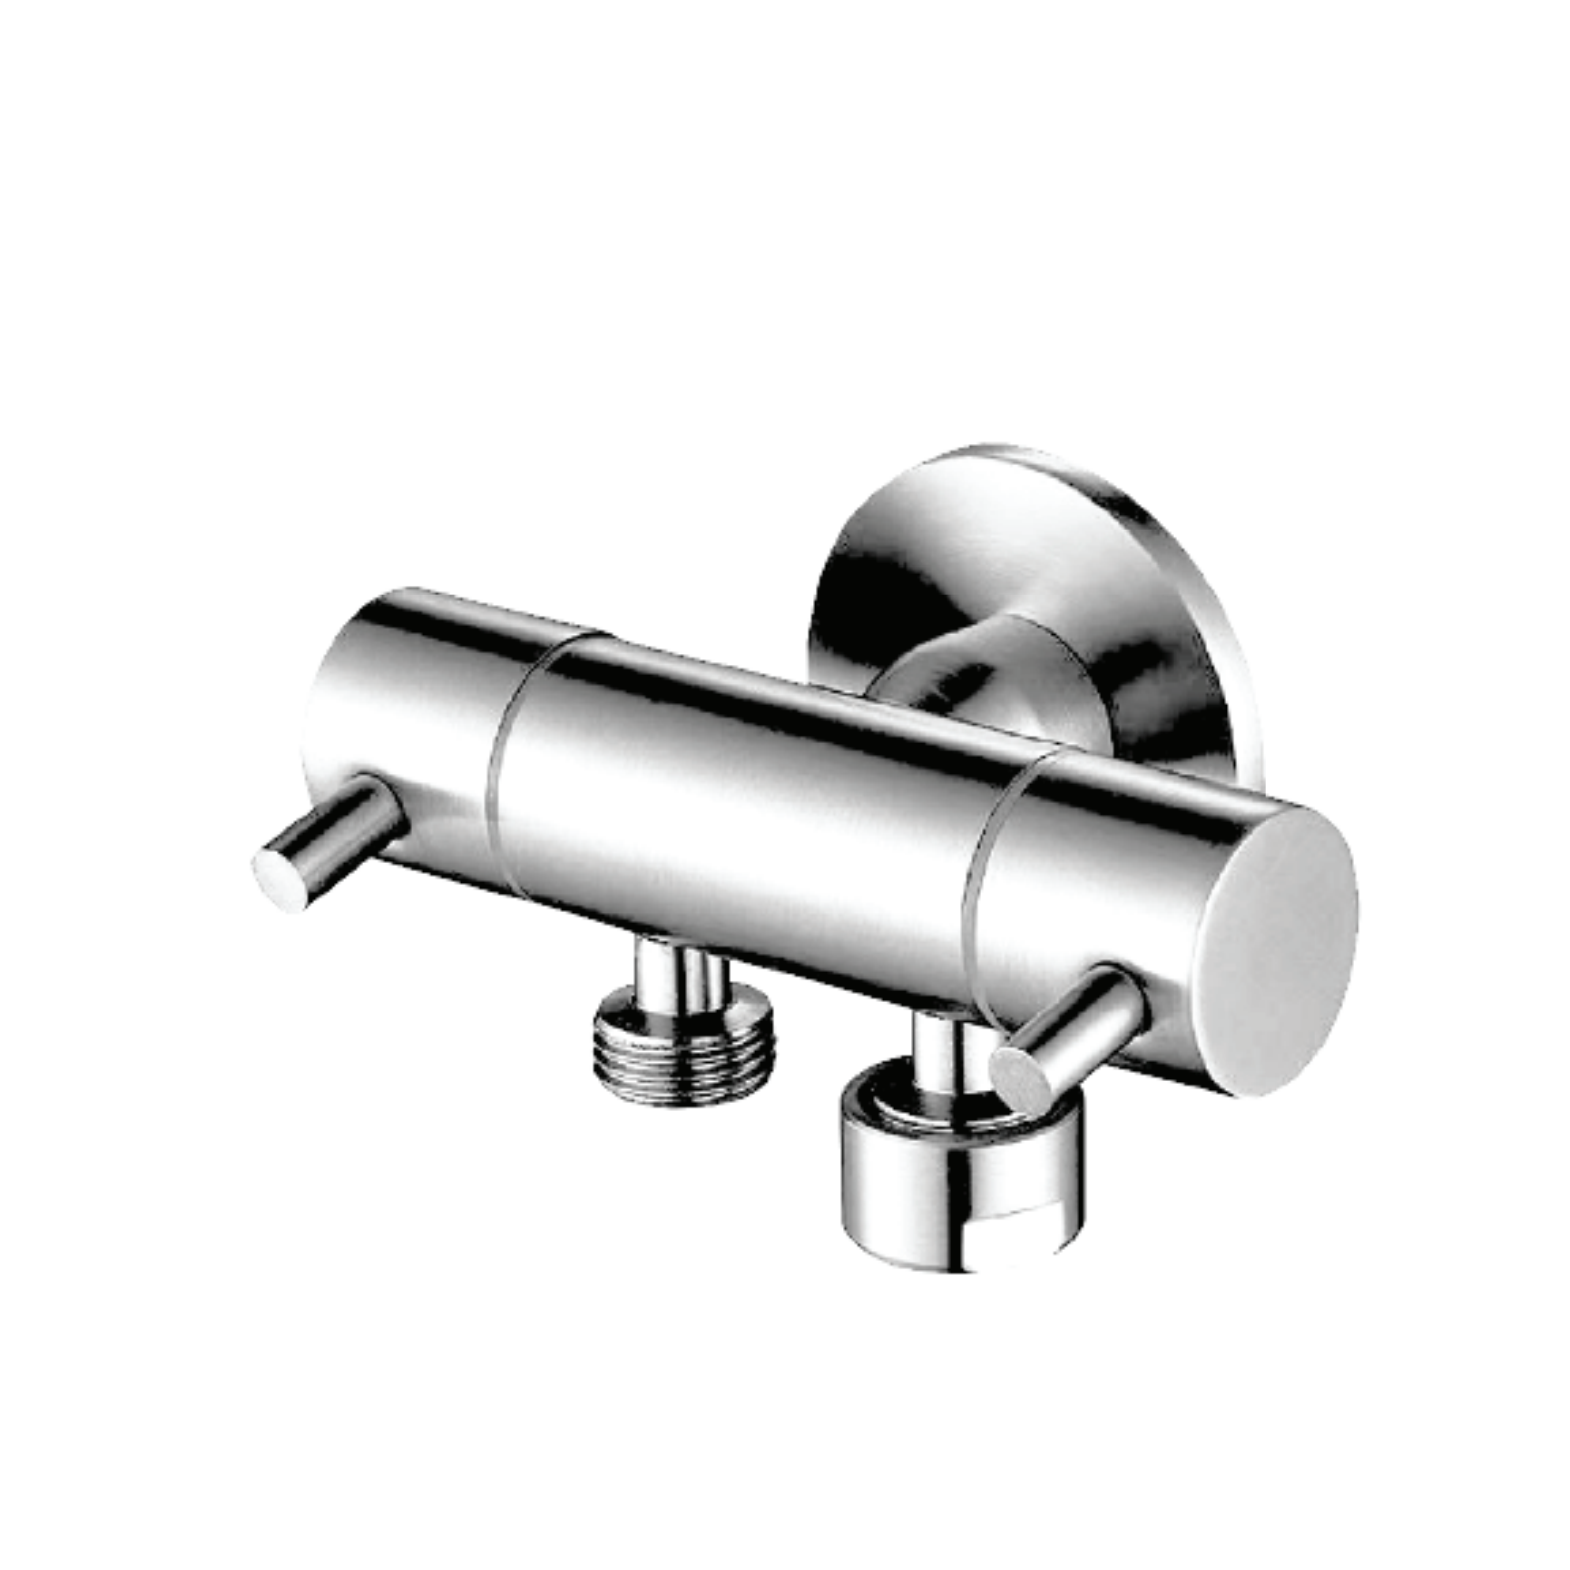
2. A T-valve. This piece connects to the bottom of the toilet cistern. It should come equipped with a flat rubber washer which acts as a leakproofing tool. In models where a flat rubber washer is not provided, you may use PTFE seal tape to secure the area from potential leaks.
The alternative to a T-valve is a dual control diverter. This functions exactly the same as a T-valve. However, there are two outlets and two handles with which to switch either outlet on and off as per your liking. This gives you more flexibility in shutting off water to the toilet and to the bidet spray.
Note that there is a variation in installing a bidet with a dual control diverter. You may still follow the steps below while adapting the instructions to this fitting. It is actually more straightforward! One outlet connects to the toilet and the other is for the bidet hose.
The major difference between a T-valve and a dual control diverter is that the dual control diverter connects to the wall, whereas the T-valve attaches to the bottom of the toilet cistern.
3. A flexible water supply hose. The length of the bidet hose is crucial for accessibility as you will want the sprayer to extend to all areas where you wish to employ it. Make sure both ends also come with a rubber washer when you install it to prevent leaking.
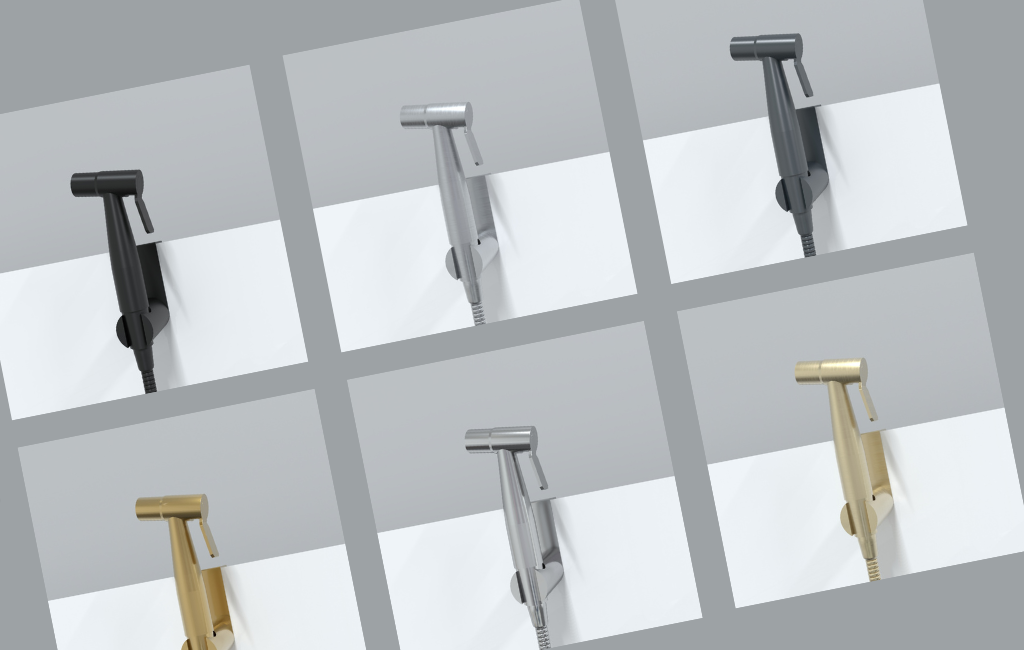
These parts can be purchased separately in different finishes and shapes to match the look of the rest of your bathroom. Check out our full selection here today. Options run the gamut from chrome, white, black and more, including square and rounded shapes. The handheld bidet sprayer and flexible water hose can also be purchased together in a kit.
Adjustable wrench (optional)
PTFE seal tape for guaranteed waterproof sealing (only necessary if your flexible water supply hose and T-valve do not come with a rubber washer)
Your selected bidet sprayer kit, inclusive of the sprayer, hose, and T-valve
Drywall screws (for wall-mounted sprayer holders only)
A bucket or towel for catching any water during the setup
Turn off the water supply to prevent unwanted leaks during the installation process. Locate the water supply valve. This is usually fixed on the wall close to the floor beside your toilet.
Switch off the water valve by turning it clockwise until it is tight.
Next, flush the toilet. The remaining water in your toilet tank needs to be cleared before you proceed with installing the bidet spray.
To double check that the water has cleared, remove the lid of the toilet tank to inspect inside. Alternatively, you can move onto the next step when you no longer hear water rushing through the water supply line.
Any water that is not cleared will escape once the existing water line is disconnected so be sure to empty the water properly.
Disconnect the existing water supply hose from the fill valve underneath your toilet tank. You should be able to remove this by simply unscrewing the twisting cap attached to the tank.
Keep a bucket or towel nearby to catch any escaping water.
Next, secure the T-valve to the fill valve. There are 4 sides to a T-valve. Locate the side which has a twisting nut that can be screwed onto a thread.
A thread is the part of the rod which has grooves circling it and can therefore have objects screwed on top of it. The fill valve underneath the toilet is a thread.
Make sure that the black flat rubber washer is inside the t-valve in the side which connects to the toilet's fill valve. This will prevent leaks. In any situation where you do not have a rubber washer, use PTFE seal tape to leakproof your fittings.
Hand screw the T-valve to the toilet's fill valve. At this stage, the T-valve does not need to be fully tightened. It will be easier to connect the bidet spray if there is still room to rotate a hand tightened t-valve.
Reattach the original water supply hose to the T-valve's other end, directly opposite to the side connected to the toilet.
Now you have restored full control over the flow to both the toilet tank and your new handheld bidet.
You guessed it, the remaining opening in the t-valve is for the handheld bidet spray. This is the opening directly opposite to the on and off handle.
Attach the new flexible water supply hose to the T-valve and the other end to the handheld bidet sprayer in the same way you installed the other parts onto the T-valve.
Both sides should have a rubber washer in place before connecting for a watertight seal, averting issues with a leaking bidet sprayer.
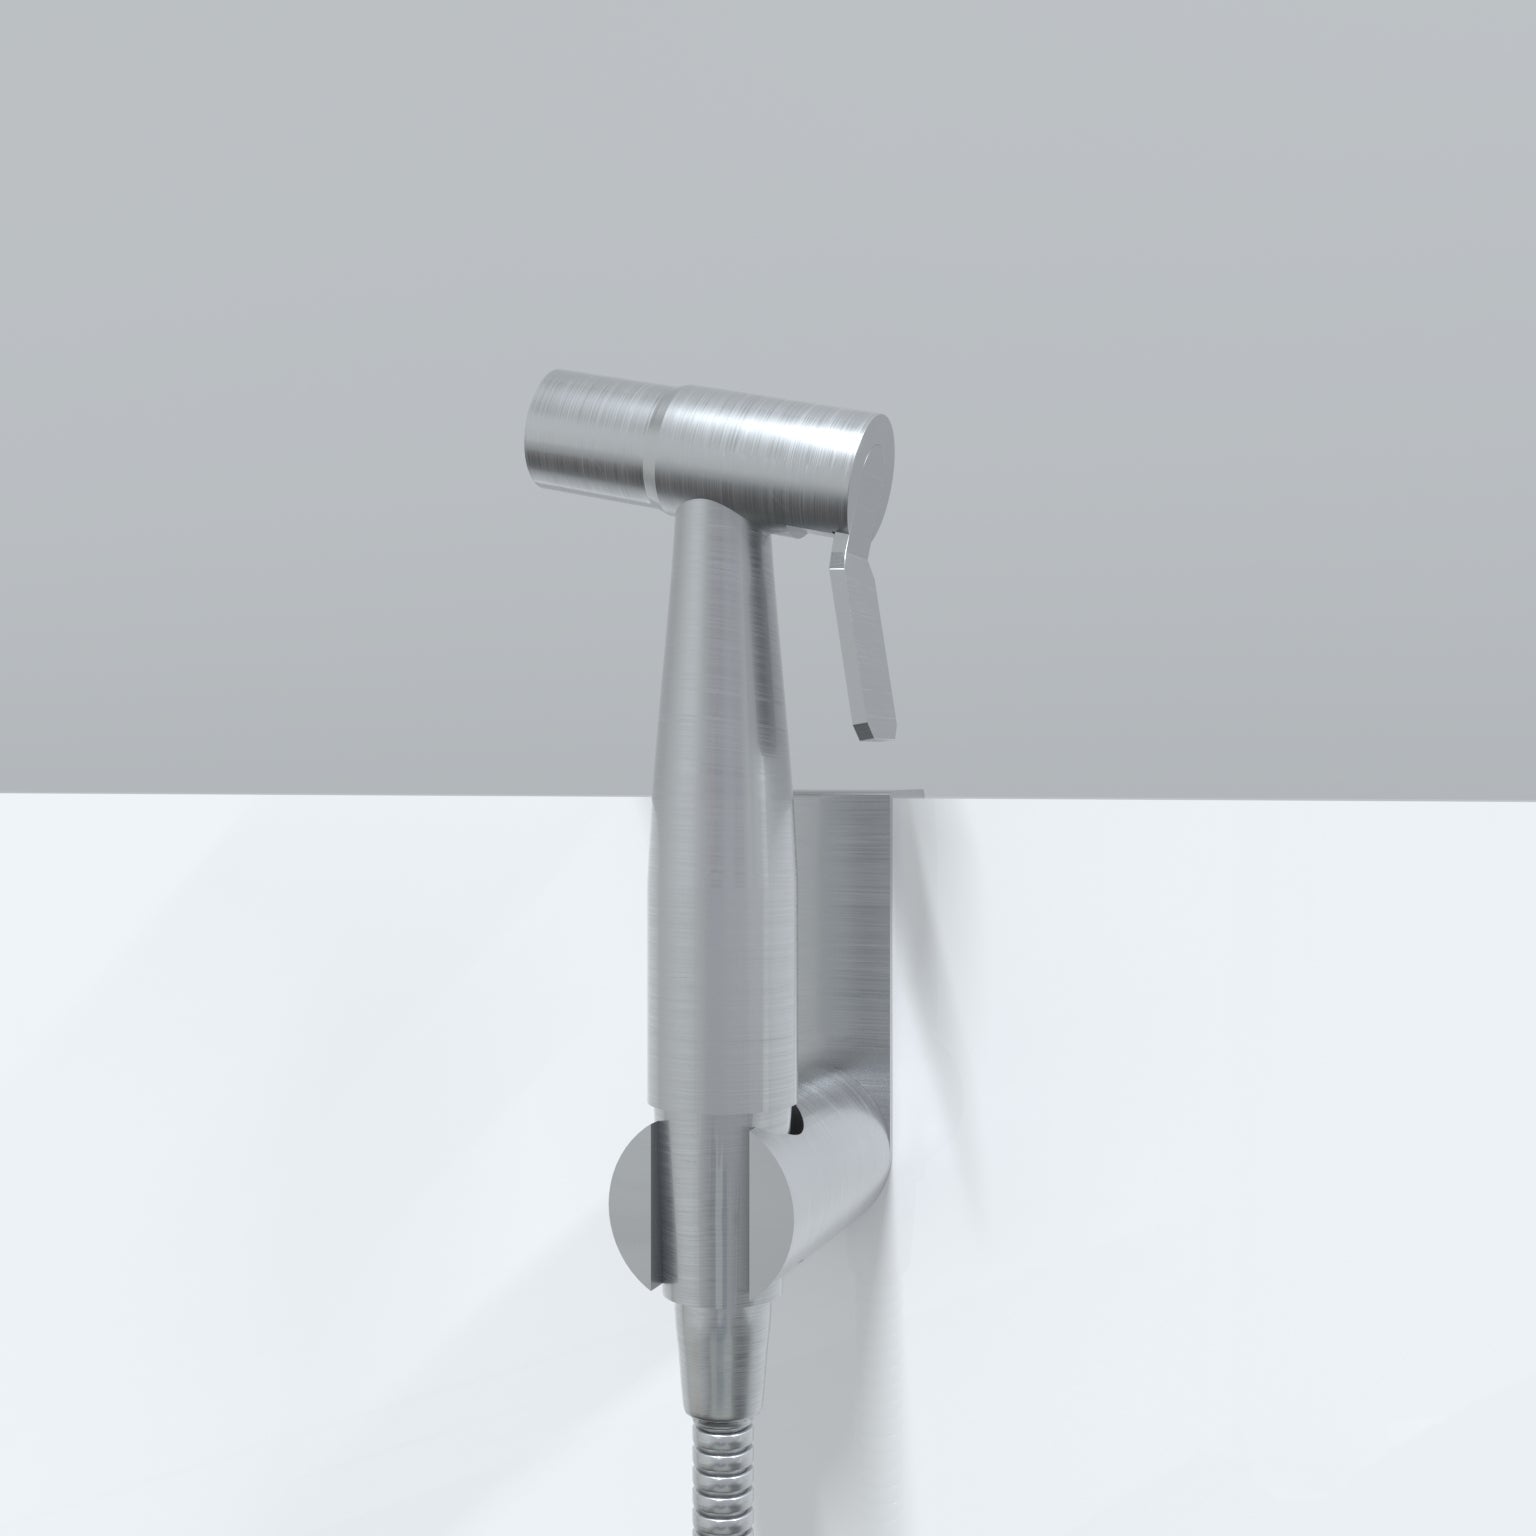
Decide on the sprayer holder's location, whether on the wall adjacent to the toilet or directly on the toilet tank. The sprayer holder is simple to install as it hooks onto the inside of your tank.
For wall installation, utilise the supplied drywall screws to attach the sprayer head to a position convenient for use.
In either case, adhere to the provided mounting instructions.
To finalise your setup, you will want to make sure there is no unexpected leaking. Be sure to tighten all the fastenings once more.
While making these final adjustments, you will need the handle that controls the water connection on the t-valve to be facing outwards. This is so that you can easily turn off the water line as necessary.
Once you have retightened everything, gradually reactivate the water valve on the wall, inspecting the T-valve and hose connections for leaks. Tighten further as needed with an adjustable wrench if necessary.
Test the handheld bidet spray's functionality, adjusting the water pressure through the valve to your preference.
Some models may require the water supply to be turned off when not in use as constant high water pressure may cause long-term wear and tear. Follow the manufacturer’s instructions for operation and maintenance.
Installing a hand held bidet sprayer yourself is one of the most rewarding projects that enhances your bathroom's functionality and sustainability. Adhering to these steps and your local plumbing code ensures a more comfortable time on the toilet seat with your bidet successfully installed.
Should you encounter complex plumbing scenarios or feel uncertain, seeking professional advice rom a licensed plumber is advisable to align with the national construction code and manage any high-hazard considerations effectively.
Remember these key points when you install your bidet spray: turn off the water supply prior to installing, secure all connections by hand to begin, and monitor for leaks.
Get comfy knowing you're contributing to a more eco-friendly lifestyle while elevating your individual experience using handheld bidets.

Anthony is one of our bathroom bloggers here at Wellsons. You'll find him regularly blogging about fun bathroom trends as well as writing DIY guides.
 DIY Advice
When searching for the best bidet hand held sprayer, it’s important to choose a product that combines durability, style, and everyday practicality. At Wellsons, our Premium Luxury Toilet Trigger Bidet...